Several hundred years ago when I made the fateful decision to get into the sign business, my first position was screen printing signs. Back when I started, you could print signs with lacquer inks and get high at the same time…those were the days!
Many companies who used on-screen print processing have switched over to digital printing, but there are still numerous companies that make use of this traditional method, and as far as I can tell, it isn’t going away anytime soon as was prognosticated by myself and other experts 5 years ago.
 While digital imprinting has increased in popularity, it still cannot match the speed of screen printing, especially as the quantities increase. The digital method, though, has rocked the sign world over the past decade with it’s cost-effective, full-color printing of short runs of banners, posters, display graphics, decals, and other great products that many companies may only need a few to a few hundred of.
The Screen Printing Process, and Comparisons Between Digital and Screen Printing
Anyway, back to screen printing press and other stuff. Especially on lower quantities of colors and higher quantities to be imprinted, it takes around an hour per color to set up to run each color on average. The variety of materials that can be screen-printed is wider than most digital printers are able to do unless they have a more recently developed digital UV flatbed printer, in which case they are about par.
Screen Printing Inks
There are many types of ink used in screen printing signs, but the most common ink bases are lacquer-based inks and UV inks. Within those categories there are inks for vinyl, various plastics, wood, and more. It may be good to note here that you can also print cloth/fabric banners with digital UV printers now as well, but we’ll cover that exhaustively in another article later.
Basic Screen Printing Process Step by Step
The basic process involved several steps. You’ll know the screen printing supplies as you read through the process below. Anyway, this is how screen printing works:
First, you need to start with a good frame with the right mesh fabric for the ink you’re printing with. With UV inks, the mesh is finer than with Lacquer-based inks as the color particles are more finely ground.
Using a “Newton Meter“, you check to make sure the screen has proper tension, which is usually around 18 to 22 N/cm. But, sometimes, it may be higher.
Next, you’d coat your screen with a photo-reactive solution (usually) and allow it to dry in a darkroom – this can take 15 minutes to a couple hours, depending on the humidity of the room.
After it has dried, it’s time to affix the film positive image on the print side of the screen (bottom). Film positives can be made from an image setter or even from a cut vinyl image applied to a clear acetate, depending on how high tech your shop is.
When I started doing this, we literally used a light bulb and a sheet of glass (or the sun if it was shining) to expose our screens…over time, we made enough money to purchase a “proper” vacuum frame and exposure unit, and exposing our films that we printed on an image setter became much easier.
After the film has been exposed, you remove the screen to a washout tank. We used a 1500PSI pressure washer to develop the film (not too close or you’d blow the emulsion out of the screen). When the emulsion that had been covered by the film positive had been washed out, you had printable image on the screen.
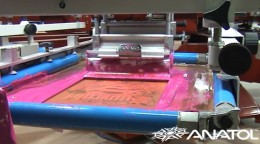
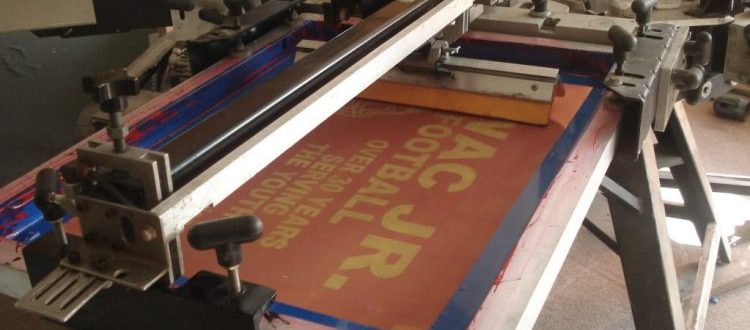
After it is dried, it’s moved to the press and set-up with the substrate, micro-adjusted, taped off (so the ink stayed on the screen), and you’re ready to print. With UV printing, the display is printed on the press and dropped onto a belt that carries it through a UV dryer. Imprinted signage displays are manually stacked or stacked by a stacker, and then are delivered to the client.
If you want to save yourself from all the dirty work, you can simply hire a screen printing professional who can make the custom-designed signs for you, check this out.
Popular Posts:


